Meeting in Webex
What’s a Rich Text element?
The rich text element allows you to create and format headings, paragraphs, blockquotes, images, and video all in one place instead of having to add and format them individually. Just double-click and easily create content.
Static and dynamic content editing
A rich text element can be used with static or dynamic content. For static content, just drop it into any page and begin editing. For dynamic content, add a rich text field to any collection and then connect a rich text element to that field in the settings panel. Voila!
How to customize formatting for each rich text
Headings, paragraphs, blockquotes, figures, images, and figure captions can all be styled after a class is added to the rich text element using the "When inside of" nested selector system.
Meeting Types
Webex offers a variety of collaboration options. But when should you use a Webex Personal Room meeting, a standard scheduled meeting, or a space meeting?
Personal Room Meeting
A Personal Room Meeting uses the traditional dial-in bridge conference that you can schedule and invite via Outlook. Personal Room Meetings are great for back-to-back meetings. With Personal Room Meetings, the meeting host can remain in one meeting room for several meetings and have attendees join at different times.
- Hosting: Only the host of the personal room can start the meeting. Participants wait in the lobby until the host starts the meeting.
- Scheduling: Click Meetings to create a calendar invite and have the email addresses of everyone in the space added automatically.
- Joining: Anyone invited to a personal room meeting may immediately join.
Space Meeting
Space meetings are meant to be more impromptu and informal. You can schedule a meeting with everyone in your space directly from the space. A space meeting is an easy way to meet for ad-hoc meetings or regular team meetings.
- Hosting: Anyone in the space can start the meeting by clicking the Meet button.
- Scheduling: Click the Schedule a meeting icon within the space to schedule a meeting directly within the space.
- Joining: Anyone invited to a space meeting may immediately join the meeting.
Scheduled Meeting
A scheduled meeting is a traditional Webex meeting that has a unique URL issued for each new meeting. This type of meeting is ideal for meetings that need to be scheduled in advance or are recurring.
- Hosting: The host or predetermined cohost(s) can start the meeting. Selecting a cohost when scheduling the meeting is only available for Conference Upgrade users.
- Scheduling: Unique URLs are issued for each new meeting to share in meeting invites.
- Joining: Attendees can join up to 15 minutes before the meeting starts via your dedicated meeting link.
Start a Meeting
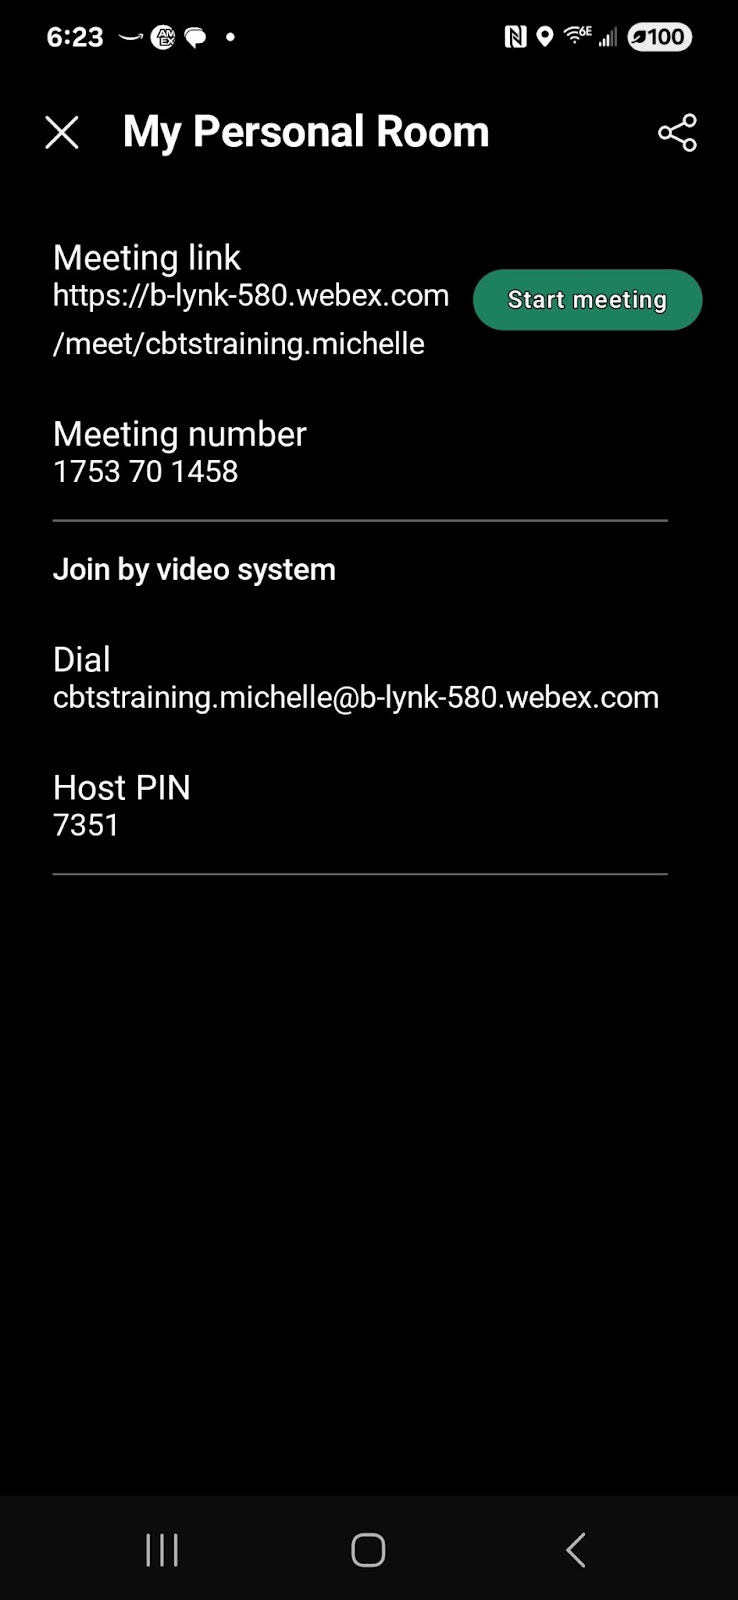
Start a Personal Room Meeting
You can meet in your Webex Personal Room by inviting people to join the same permanent, unique Personal Room link. A Personal Room Meeting is ideal for impromptu meetings, and back-to-back meetings in which the meeting host wants to remain in one meeting room for several meetings and have attendees join at different times.
Note: This option requires a specific license. If you do not see this option, you can contact your administrator for more information.
- 1. Go to the Meetings tab.
- 2. Tap the Personal Room icon and tap Start. To begin the meeting,
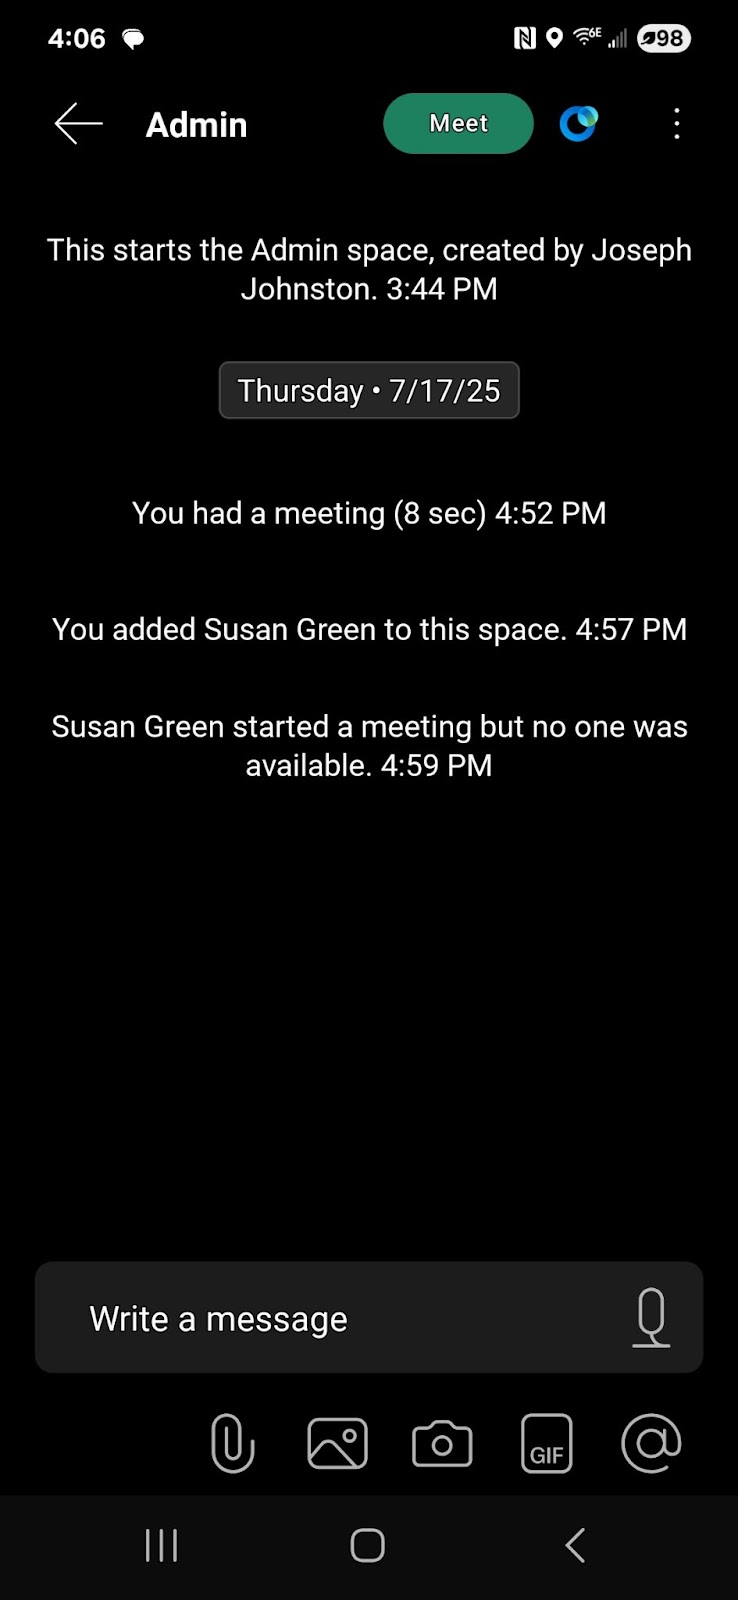
Start a Meeting from a Space
If a space has more than three people but fewer than 75, you can start an instant meeting directly from that space. The number of people who can join the meeting varies for each space, depending on the Webex licenses of the people in that space.
- 1. From the space where you would like to initiate a meeting, select Meet.
- 2. The meeting starts instantly, and everyone in the space sees a Join button in their meeting list and in their spaces list in the Webex app.
Join a Meeting
You can join a meeting from your computer, mobile device, phone, or a video system. To join a meeting:
- 1. Open your email invite.
- 2. Select Join.
- 3. If this is the first time you're joining a Webex meeting, Webex automatically downloads the app.
Note: If you don't want to install anything, select Join from your browser
- 4. Enter your name and email address. Proceed to select Next.
- 5. If you're asked for a meeting password, enter the meeting password that was included in the initial email. Then, select Next.
- 6. In the preview window, adjust or audio and video settings as desired.
- 7. When ready, select Join Meeting.
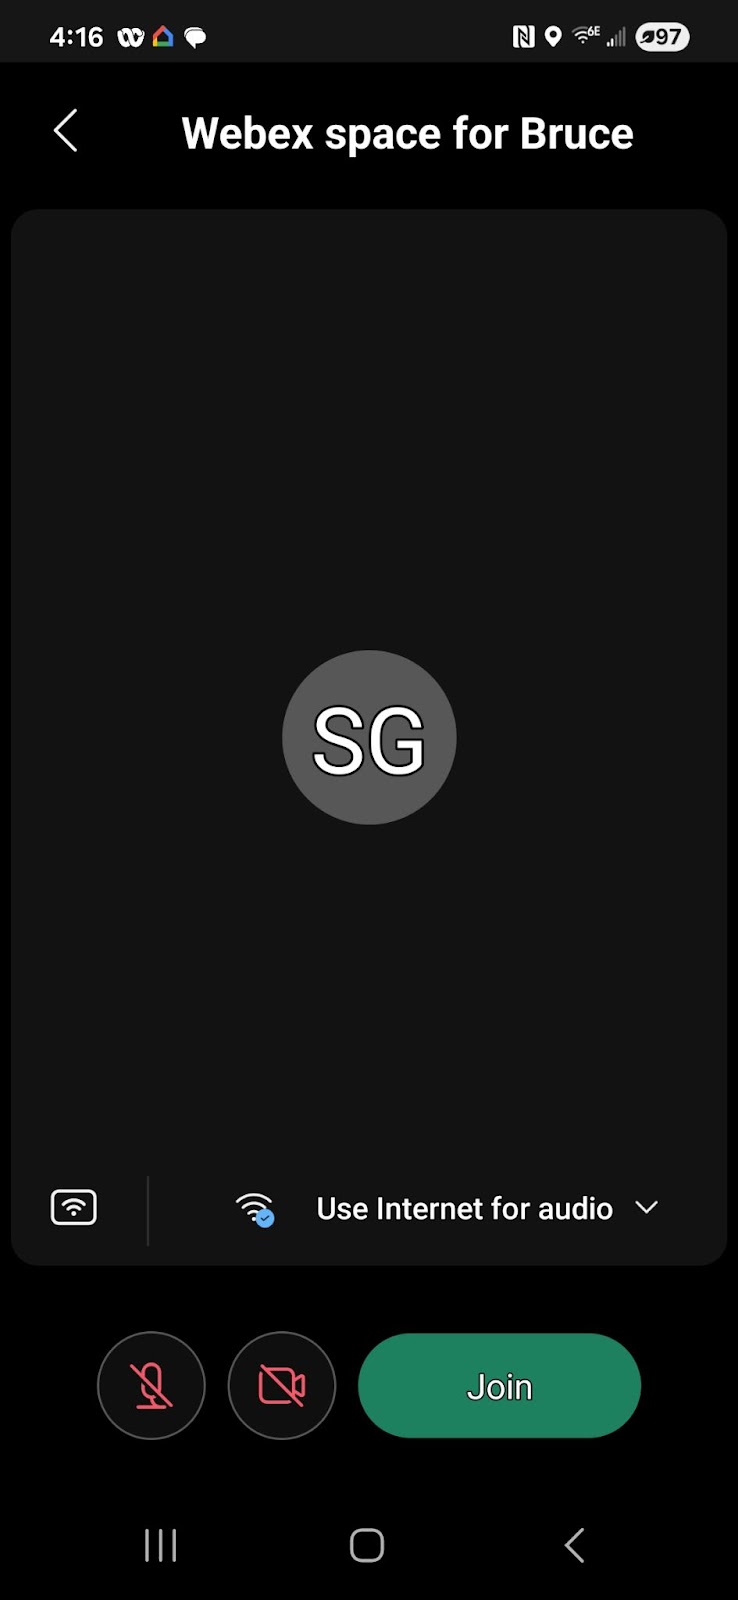
Join a Meeting from Your Spaces List
A join reminder appears five minutes before the scheduled start time. At the scheduled start time, the label changes to inform you that the meeting is starting now. When someone else joins the meeting, the countdown appears on the button, and you can see how many people have already joined.
- 1. Go to Messaging.
- 2. Tap the green button beside the space or meeting name.
- 3. Choose your audio and video settings before you join your meeting.
- 4. When ready, tap Join Meeting.
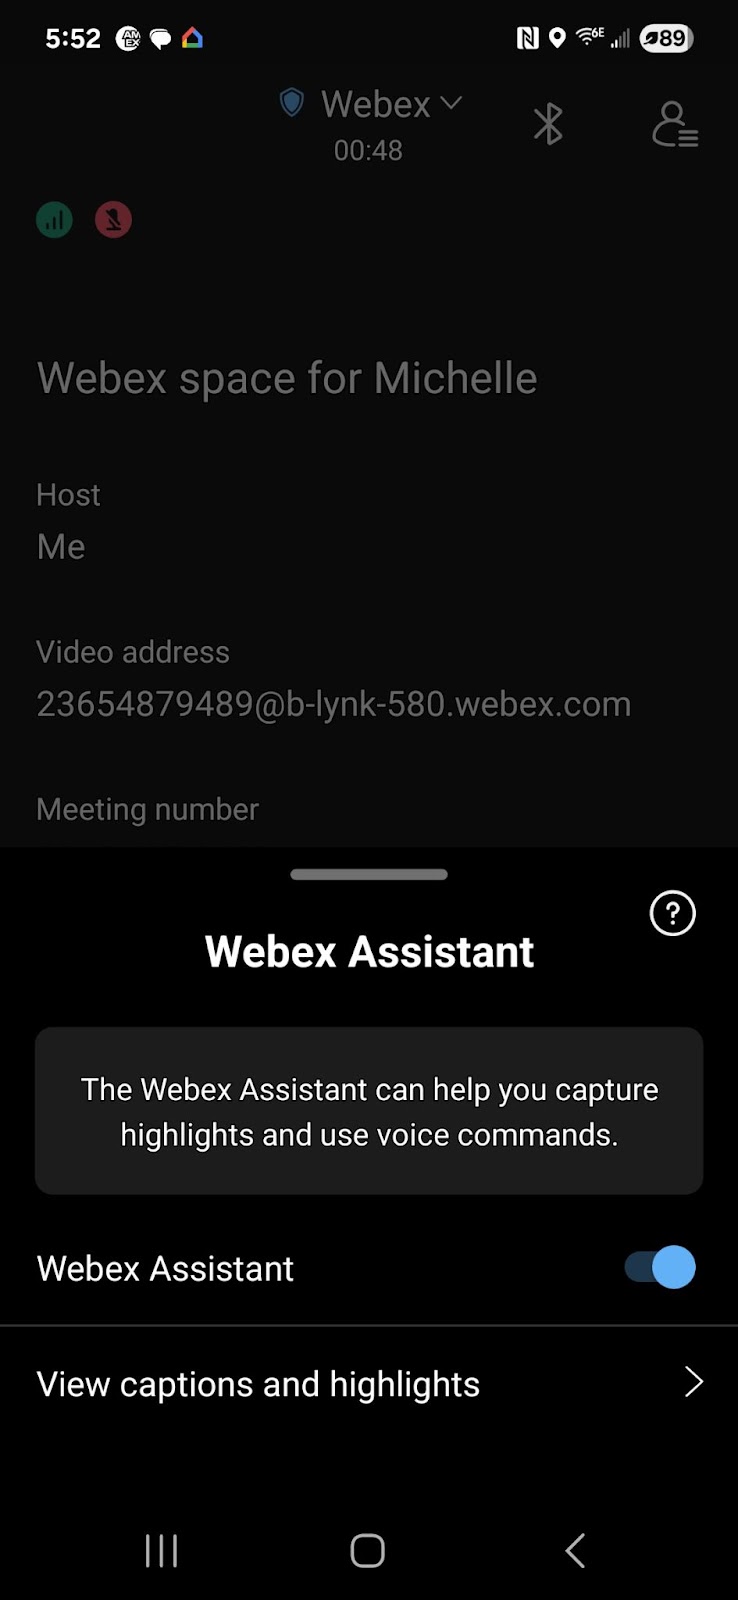
Webex Assistant in Meetings
Webex Assistant is an AI feature that provides live meeting captions and helps capture key points through voice commands or manual highlights. On your iPhone, you can use Webex Assistant during meetings to follow along more easily and keep track of important information.
Note: Before you can use Webex Assistant, it must be enabled by your organization.
tap Webex Assistant to turn it on. You’ll see live captions begin to appear at the bottom of the screen. This shows that the Assistant is active and transcribing in real time. The captions update as participants speak and are visible to anyone in the meeting who has the Assistant turned on.
To enable Webex Assistant, first, join a meeting.
- 1. Tap the More options icon in the meeting controls.
- 2. Select Advanced
- 3. Tap Webex Assistant and toggle it on.
An audio alert confirms that the assistant is active.
- 4. Once enabled, live captions appear at the bottom of the screen. This shows that the Assistant is active and transcribing in real time. The captions update as participants speak and are visible to anyone in the meeting who has the Assistant turned on.
- 5. Tap to highlight moments in the caption stream to mark something as important.
Note: If the meeting isn’t recorded, captions and highlights are only available during the live session. Once the meeting ends, the content isn’t saved unless a recording is active. If the meeting was recorded, the transcript, highlights, and summary are available in the Webex app under your meeting recordings.